[[{“value”:”
Table of Contents
-
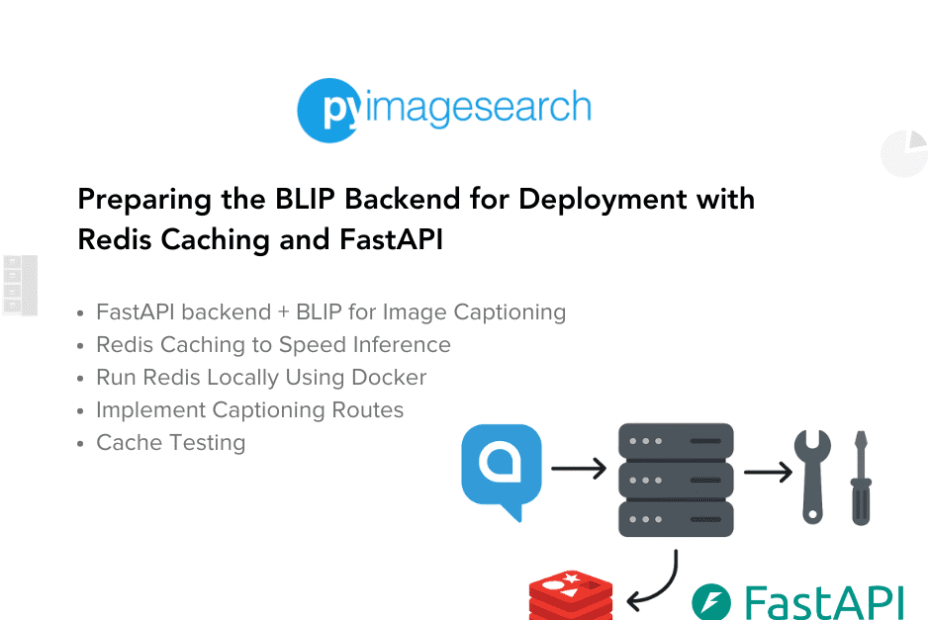
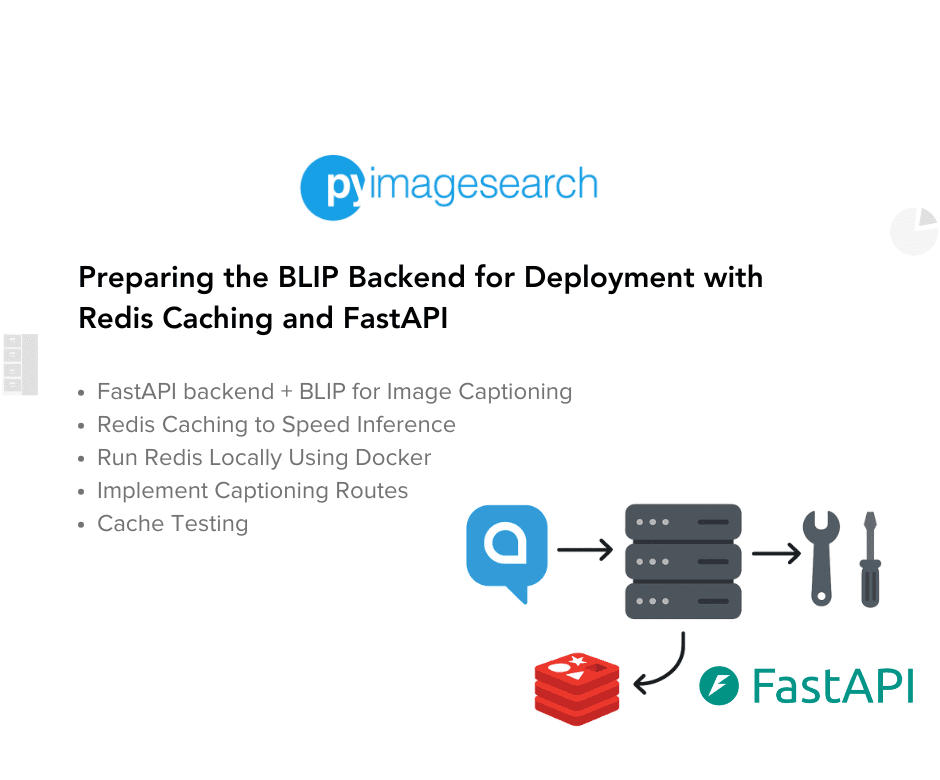
Preparing the BLIP Backend for Deployment with Redis Caching and FastAPI
- Introduction
- Configuring Your Development Environment
- Running a Local Redis Server with Docker
- Setting Up the FastAPI Project
- Loading the BLIP Model for Inference
- Implementing Conditional and Unconditional Captioning
- Integrating Redis for Caching Captions
- Testing the API and Verifying Cache Behavior
- Summary
Preparing the BLIP Backend for Deployment with Redis Caching and FastAPI
In this tutorial, you’ll build a BLIP-powered image captioning backend using FastAPI. You’ll integrate Redis caching to eliminate redundant inference and support both unconditional and prompt-guided (conditional) caption generation. By the end, you’ll have a deployment-ready API that serves captions efficiently in real time.
This lesson is the 2nd of a 5-part series on Deploying BLIP for Image Captioning on AWS ECS Fargate:
- Meet BLIP — The Vision-Language Model Powering Image Captioning
- Preparing the BLIP Backend for Deployment with Redis Caching and FastAPI (this tutorial)
- Deploying the BLIP Backend to AWS ECS Fargate with Load Balancing (to be featured in a future mini-course)
- Load Testing and Auto Scaling the BLIP Backend on ECS Fargate (to be featured in a future mini-course)
- Build a Next.js Frontend for Your Image Captioning API on AWS ECS Fargate (to be featured in a future mini-course)
To learn how to build a BLIP-based image captioning backend with FastAPI — supporting both unconditional and prompt-guided captions — and optimize it using Redis caching for deployment, just keep reading.
Introduction
In Lesson 1, we introduced BLIP (Bootstrapped Language-Image Pretraining), explored its evolution from earlier image captioning models, and demonstrated its real-world capabilities. You ran BLIP on real images using both unconditional captioning (where the model freely describes the image) and conditional captioning (where a prompt like “A picture of…” guides the output). We also touched on how BLIP differs from traditional captioning pipelines and why it’s considered production-ready.
That was your playground. Now, it’s time to build your workshop.
What We’re Building in This Lesson
In this tutorial, you’ll build a FastAPI backend that wraps around the BLIP model to serve image captions via a clean API endpoint. More importantly, you’ll integrate Redis caching so that repeated uploads of the same image don’t trigger redundant inference runs. This is crucial for real-world applications where performance, cost, and scalability matter.
By the end, you’ll have a deployment-ready backend that:
- Accepts an image upload via an HTTP POST request
- Supports both conditional and unconditional captioning
- Checks Redis for existing results
- Falls back to inference only when needed
Why Redis Caching Matters for Inference
Image captioning models (e.g., BLIP) are relatively lightweight, but inference is still CPU-intensive, especially when running on lower-tier instances or in serverless environments. If users upload the same image more than once (e.g., retries, API chaining, or bulk uploads), there’s no reason to regenerate the same caption.
That’s where Redis comes in.
What Is Caching?
Caching is the process of storing the results of expensive operations so they can be reused later without re-execution. In our case, the “expensive operation” is generating a caption using the BLIP model.
We’ll compute a unique hash for each image (e.g., SHA-256) and store the generated caption in Redis using this hash as the key. If the same image is uploaded again, the backend will:
- Check Redis first
- If the caption exists → return it immediately
- If not → generate it, store it, and return the result
What Is Redis?
Redis (Remote Dictionary Server) is a fast, in-memory key-value store that’s widely used for caching, real-time data processing, and low-latency applications.
As shown in Figure 1, Redis traditionally sits between your application and a slower data source (e.g., a database).

When a request comes in:
- The app checks Redis first.
- If the requested data is already cached (a cache hit), it’s returned immediately.
- If not (a cache miss), the app fetches data from the slower backend (e.g., MySQL), stores it in Redis for future requests, and returns it to the user.
In our case, we’re replacing MySQL with BLIP inference. Instead of querying a database, our backend runs image captioning. And since captioning is expensive, caching the result with Redis ensures we don’t re-run inference on the same image again — saving time and compute.
Configuring Your Development Environment
To follow this guide, you need to have various Python libraries installed on your system.
Luckily, all libraries are pip-installable:
$ pip install fastapi uvicorn[standard] transformers torch pillow redis python-multipart
We’ll use fastapi as the web framework to build our captioning API, and uvicorn as the Asynchronous Server Gateway Interface (ASGI) server to run it. The transformers library will load the BLIP model and processor, while torch serves as the backend for model inference. For image handling, we’ll use pillow (PIL.Image), and to enable caching, we’ll interact with redis using the redis Python client. Lastly, python-multipart is needed to handle image file uploads via multipart/form-data in FastAPI routes.
You’ll also need to have a Redis server running locally or in the cloud — we’ll walk through setup options shortly.
Need Help Configuring Your Development Environment?
All that said, are you:
- Short on time?
- Learning on your employer’s administratively locked system?
- Wanting to skip the hassle of fighting with the command line, package managers, and virtual environments?
- Ready to run the code immediately on your Windows, macOS, or Linux system?
Then join PyImageSearch University today!
Gain access to Jupyter Notebooks for this tutorial and other PyImageSearch guides pre-configured to run on Google Colab’s ecosystem right in your web browser! No installation required.
And best of all, these Jupyter Notebooks will run on Windows, macOS, and Linux!
Running a Local Redis Server with Docker
To enable caching in your backend, you’ll need a Redis server running locally. The easiest and most platform-independent way to do this is with Docker. You don’t need to install Redis manually or configure anything complex — one command line is all it takes.
Start a Redis Docker Container
If you have Docker installed, simply run:
docker run -d --name redis-blip -p 6379:6379 redis
This command:
- Downloads the official
redisimage from Docker Hub (if not already present) - Starts a container in detached mode (
-d) - Maps container port
6379to your local machine’s6379
Verify Redis Is Running
To check that Redis is up and running:
docker ps
You should see a container named redis-blip in the list, as shown below:

To confirm that Redis is up and responding, you can run the ping command inside the running Docker container:
docker exec -it redis-blip redis-cli ping
If everything is working correctly, you’ll see:
PONG
This means the Redis server is running and accepting connections on localhost:6379. You don’t need to install the Redis CLI (command line interface) separately on your host — this command works entirely inside the container.
Python Redis Test
Once Redis is running, you can quickly test it from a Python script or shell:
import redis

r = redis.Redis(host="localhost", port=6379)
r.set("test_key", "hello")
print(r.get("test_key"))  # Output: b'hello'
Understanding the Redis Default Port: 6379
When you run a Redis server, it listens on a network port for incoming client connections. By default, this is port 6379, often referred to as the Redis port. Ports act like numbered “doors” that allow software on different machines (or the same machine) to communicate over TCP/IP. Redis port 6379 is the well-known door for Redis, meaning clients such as redis-cli or applications using Redis drivers connect to this port unless you explicitly configure a different one.
In real-world setups, knowing the Redis port is crucial. For example, when you deploy Redis in Docker or Kubernetes, you’ll often map 6379:6379 to expose it. If you’re working with cloud environments, you may also need to open port 6379 in your firewall or security group to allow external access. And if you run multiple Redis instances on the same host, you can configure each instance to use a different port (e.g., 6380, 6381) in the redis.conf file.
Setting Up the FastAPI Project
Now that Redis is running and your environment is configured, let’s set up the FastAPI project that will serve our BLIP-powered image captioning backend.
In this section, we’ll:
- Initialize the FastAPI app
- Add a placeholder
/captionroute - Verify the server runs correctly using Uvicorn
Step 1: Create main.py
Create a new Python file named main.py inside your project folder and add the following minimal FastAPI setup:
from fastapi import FastAPI

app = FastAPI()

@app.get("/")
def read_root():
    return {"message": "BLIP captioning backend is live!"}

@app.post("/caption")
def caption_placeholder():
    return {"caption": "This is a placeholder. Real captioning coming soon!"}
Step 2: Run the Server
From your terminal, navigate to the project directory and run:
uvicorn main:app --reload
You should see output like:
Uvicorn running on http://127.0.0.1:8000
Visit http://localhost:8000 in your browser, and you should see:
{"message":"BLIP captioning backend is live!"}
You can also test the /caption endpoint using a POST request (e.g., with Postman or curl).
Loading the BLIP Model for Inference
Now that your FastAPI app is running, it’s time to integrate the BLIP model so we can generate real captions. We’ll be using the Salesforce/blip-image-captioning-base model from Hugging Face Transformers.
This section will cover:
- Installing and importing the model and processor
- Loading them once on server startup
- Keeping everything in memory for efficient reuse
- Verifying the model loads correctly
Step 1: Add the Required Imports
At the top of your main.py, add the following imports to bring in the BLIP model and processor:
from transformers import BlipProcessor, BlipForConditionalGeneration
import torch
from PIL import Image
import io
Step 2: Load the BLIP Model and Processor
Just below your FastAPI() app instantiation, load the model and processor globally:
# Load BLIP model and processor at startup
processor = BlipProcessor.from_pretrained("Salesforce/blip-image-captioning-base")
model = BlipForConditionalGeneration.from_pretrained("Salesforce/blip-image-captioning-base")
model.eval()
This ensures the model is only loaded once, when the server starts — which is essential for performance in production.
Optional: Add a Sanity Check Route
You can temporarily add a test route to ensure the model works:
@app.get("/test-caption")
def test_caption():
    # Use a sample prompt (no image yet)
    inputs = processor(text="A photo of", return_tensors="pt")
    out = model.generate(**inputs)
    return {"output": processor.decode(out[0], skip_special_tokens=True)}
It won’t generate a real caption (no image provided), but it’s a quick way to verify the model is functioning and that the server doesn’t crash on import.
At this point, your server has the BLIP model loaded and ready to accept image inputs. In the next section, we’ll build the logic for both unconditional and conditional captioning, and accept real images via the /caption endpoint.
Implementing Conditional and Unconditional Captioning
BLIP supports two captioning modes:
- Unconditional: You give it an image, and it generates a caption from scratch
- Conditional: You give it an image and a text prompt (e.g., “A photo of”), and the model completes the caption in that context
In this section, we’ll support both modes through a single API route (/caption) by allowing the client to optionally include a prompt in the request.
Update Your /caption Route to Accept Image + Prompt
Here’s an updated version of the route to handle both file uploads and optional prompts:
from fastapi import File, UploadFile, Form
from fastapi.responses import JSONResponse

@app.post("/caption")
async def generate_caption(
    image: UploadFile = File(...),
    prompt: str = Form(None)  # Optional form field
):
    try:
        # Read image bytes and convert to PIL
        image_bytes = await image.read()
        pil_image = Image.open(io.BytesIO(image_bytes)).convert("RGB")

        # Build input tensor: with or without prompt
        if prompt:
            inputs = processor(images=pil_image, text=prompt, return_tensors="pt")
        else:
            inputs = processor(images=pil_image, return_tensors="pt")

        # Generate caption
        output = model.generate(**inputs)
        caption = processor.decode(output[0], skip_special_tokens=True)

        return JSONResponse(content={"caption": caption})

    except Exception as e:
        return JSONResponse(status_code=500, content={"error": str(e)})
How It Works
- The route accepts a
multipart/form-datarequest with:image: the uploaded fileprompt(optional): a short string to steer the caption (e.g., “A picture of”)
- If a prompt is provided, it performs conditional captioning
- If no prompt is sent, it falls back to unconditional captioning
- The caption is returned in JSON format
Sample curl Requests
Unconditional:
curl -X POST http://localhost:8000/caption
  -F "image=@example.jpg"
Conditional:
curl -X POST http://localhost:8000/caption
  -F "image=@example.jpg"
  -F "prompt=A photo of"
You’re now able to generate real captions from user-uploaded images — conditionally or unconditionally.
Integrating Redis for Caching Captions
Running BLIP inference for every image upload can be unnecessarily expensive — especially if users send duplicate images. That’s where Redis comes in. We’ll use Redis as a key-value store to cache caption results using a hash of the image as the key.
This section covers:
- Connecting to Redis from FastAPI
- Generating a hash (e.g., SHA-256) for each image
- Checking Redis before running inference
- Storing the result after generating a caption
Step 1: Import Redis and Hashing Modules
Add these imports to your main.py:
import redis
import hashlib
Step 2: Connect to Redis
Set up a Redis connection just below your model loading code:
# Connect to Redis (running locally)
redis_client = redis.Redis(host="localhost", port=6379, db=0)
Step 3: Compute a Unique Image Hash
We’ll hash the raw image bytes to create a unique key per image:
def get_image_hash(image_bytes: bytes) -> str:
    return hashlib.sha256(image_bytes).hexdigest()
This function generates a consistent, unique identifier for every image, which we’ll use to cache and retrieve captions.
Step 4: Update /caption to Use Cache
Modify your existing /caption route to:
- Check Redis before inference
- Store the result in Redis after generating it — full route with Redis logic:
@app.post("/caption")
async def generate_caption(
    image: UploadFile = File(...),
    prompt: str = Form(None)
):
    try:
        image_bytes = await image.read()
        pil_image = Image.open(io.BytesIO(image_bytes)).convert("RGB")

        # Create cache key based on image hash + optional prompt
        image_hash = get_image_hash(image_bytes)
        cache_key = f"{image_hash}:{prompt or 'default'}"

        # Try Redis cache
        cached_caption = redis_client.get(cache_key)
        if cached_caption:
            return JSONResponse(content={"caption": cached_caption.decode()})

        # Not in cache → run BLIP inference
        if prompt:
            inputs = processor(images=pil_image, text=prompt, return_tensors="pt")
        else:
            inputs = processor(images=pil_image, return_tensors="pt")

        output = model.generate(**inputs)
        caption = processor.decode(output[0], skip_special_tokens=True)

        # Store in Redis
        redis_client.set(cache_key, caption)

        return JSONResponse(content={"caption": caption})

    except Exception as e:
        return JSONResponse(status_code=500, content={"error": str(e)})
With that, your BLIP backend now supports smart caching using Redis — reducing latency and compute load for repeated image requests.
Testing the API and Verifying Cache Behavior
Now that your backend supports both captioning and Redis caching, it’s time to test everything end-to-end — and verify that repeated requests skip inference and return results instantly.
This section will walk you through:
- Sending test requests using
curlor Postman - Validating the captioning output
- Confirming cache hits vs misses
- (Optional) Measuring response time
Step 1: Run the Server
If it’s not already running, start your FastAPI server:
uvicorn main:app --reload
Make sure your Redis Docker container is also running in the background:
docker ps
Step 2: Send an Image for Captioning
Try an unconditional captioning request:
curl -X POST http://localhost:8000/caption
  -F "image=@example.jpg"
And a conditional captioning request:
curl -X POST http://localhost:8000/caption
  -F "image=@example.jpg"
  -F "prompt=A photograph of"
If the captioning is successful, you’ll get a JSON response like:
{"caption": "A photograph of a woman sitting on the beach with her dog."}
Step 3: Resend the Same Image
Now resend the same request with the same prompt (or none). You should:
- Get the same caption
- See a faster response time (since it’s coming from Redis)
You can even add simple debug prints in your code:
if cached_caption:
    print("🔁 Cache hit!")
else:
    print("⚡ Cache miss — running inference.")
Measure Timing (Optional)
To verify how much faster cache responses are, you can add timing logic:
import time
start = time.time()
# ... caption generation or cache lookup ...
print(f"⏱️ Response time: {time.time() - start:.3f} sec")
What You Should Observe
- First-time requests: slower (model inference)
- Repeated requests: faster (Redis cache hit)
- Different prompts on the same image: treated as different keys
What’s next? We recommend PyImageSearch University.
86+ total classes • 115+ hours hours of on-demand code walkthrough videos • Last updated: September 2025
★★★★★ 4.84 (128 Ratings) • 16,000+ Students Enrolled
I strongly believe that if you had the right teacher you could master computer vision and deep learning.
Do you think learning computer vision and deep learning has to be time-consuming, overwhelming, and complicated? Or has to involve complex mathematics and equations? Or requires a degree in computer science?
That’s not the case.
All you need to master computer vision and deep learning is for someone to explain things to you in simple, intuitive terms. And that’s exactly what I do. My mission is to change education and how complex Artificial Intelligence topics are taught.
If you’re serious about learning computer vision, your next stop should be PyImageSearch University, the most comprehensive computer vision, deep learning, and OpenCV course online today. Here you’ll learn how to successfully and confidently apply computer vision to your work, research, and projects. Join me in computer vision mastery.
Inside PyImageSearch University you’ll find:
- ✓ 86+ courses on essential computer vision, deep learning, and OpenCV topics
- ✓ 86 Certificates of Completion
- ✓ 115+ hours hours of on-demand video
- ✓ Brand new courses released regularly, ensuring you can keep up with state-of-the-art techniques
- ✓ Pre-configured Jupyter Notebooks in Google Colab
- ✓ Run all code examples in your web browser — works on Windows, macOS, and Linux (no dev environment configuration required!)
- ✓ Access to centralized code repos for all 540+ tutorials on PyImageSearch
- ✓ Easy one-click downloads for code, datasets, pre-trained models, etc.
- ✓ Access on mobile, laptop, desktop, etc.
Summary
In this lesson, you took the BLIP image captioning model from an offline demo and turned it into a deployment-ready backend service. You began by configuring your development environment and spinning up a local Redis server using Docker. Next, you scaffolded a FastAPI project and loaded the blip-image-captioning-base model using Hugging Face Transformers.
You implemented both unconditional and conditional captioning in a single /caption endpoint, allowing users to guide caption generation with prompts, optionally. To optimize performance, you integrated Redis caching, using SHA-256 hashes of image content as keys to avoid redundant inference. Finally, you tested the full flow using curl, verified cache hits and misses, and confirmed that repeated requests return results instantly thanks to Redis.
With your backend now efficient, flexible, and production-ready, it’s fully ready to be dockerized and deployed to the cloud — paving the way for the next phase: deploying to AWS ECS Fargate with load balancing.
Citation Information
Singh, V. “Preparing the BLIP Backend for Deployment with Redis Caching and FastAPI,” PyImageSearch, P. Chugh, S. Huot, A. Sharma, and P. Thakur, eds., 2025, https://pyimg.co/h0a6j
@incollection{Singh_2025_preparing--blip-backend-for-deployment-with-redis-caching-fastapi,
  author = {Vikram Singh},
  title = {{Preparing the BLIP Backend for Deployment with Redis Caching and FastAPI}},
  booktitle = {PyImageSearch},
  editor = {Puneet Chugh and Susan Huot and Aditya Sharma and Piyush Thakur},
  year = {2025},
  url = {https://pyimg.co/h0a6j},
}
To download the source code to this post (and be notified when future tutorials are published here on PyImageSearch), simply enter your email address in the form below!

Download the Source Code and FREE 17-page Resource Guide
Enter your email address below to get a .zip of the code and a FREE 17-page Resource Guide on Computer Vision, OpenCV, and Deep Learning. Inside you’ll find my hand-picked tutorials, books, courses, and libraries to help you master CV and DL!
The post Preparing the BLIP Backend for Deployment with Redis Caching and FastAPI appeared first on PyImageSearch.
“}]] [[{“value”:”Table of Contents Preparing the BLIP Backend for Deployment with Redis Caching and FastAPI Introduction What We’re Building in This Lesson Why Redis Caching Matters for Inference What Is Caching? What Is Redis? Configuring Your Development Environment Running a Local…
The post Preparing the BLIP Backend for Deployment with Redis Caching and FastAPI appeared first on PyImageSearch.”}]]  Read More AWS ECS Fargate, Computer Vision, FastAPI, Image Captioning, Tutorial, api, blip, caching, conditional captioning, docker, ecs fargate, fastapi, hugging face, image captioning, pillow, prompt-guided, python, redis, sha-256, transformers, tutorial, uvicorn